Amazing Panoramic Results — 31.5 Gigapixel, 251K Wide
Ultra-sharp detail at your fingertips. You can create this yourself with the PanoMatrix RC2 — and the right knowledge, the right skill.
PanoMatrix Post-Production Workflow — Quick Reference
This is a condensed technical reference, not a step-by-step course. It shows what each stage does and which software handles it. For detailed instruction on any single step, the linked YouTube tutorials cover the general method in depth.
Quick Overview
A fast, two-minute walkthrough of the whole idea — well worth the two minutes.
360° Live Example
The test dataset described in this guide, processed correctly, produces exactly this kind of result. It was shot at Moon World (月世界), a karst badland landscape in Kaohsiung, Taiwan.
View Live Demovr360.com.tw/vr/DEMO/drone/Moonworld/6x_Optimized/tour.html
Segment Matrix Example: Mount Fuji, Japan
Flat gigapixel tiling — a different capture method, shown for comparison.
View Live Demovr360.com.tw/vr/DEMO/drone/Mount_Fuji/Flat_Gigapixel_Sample/index.html
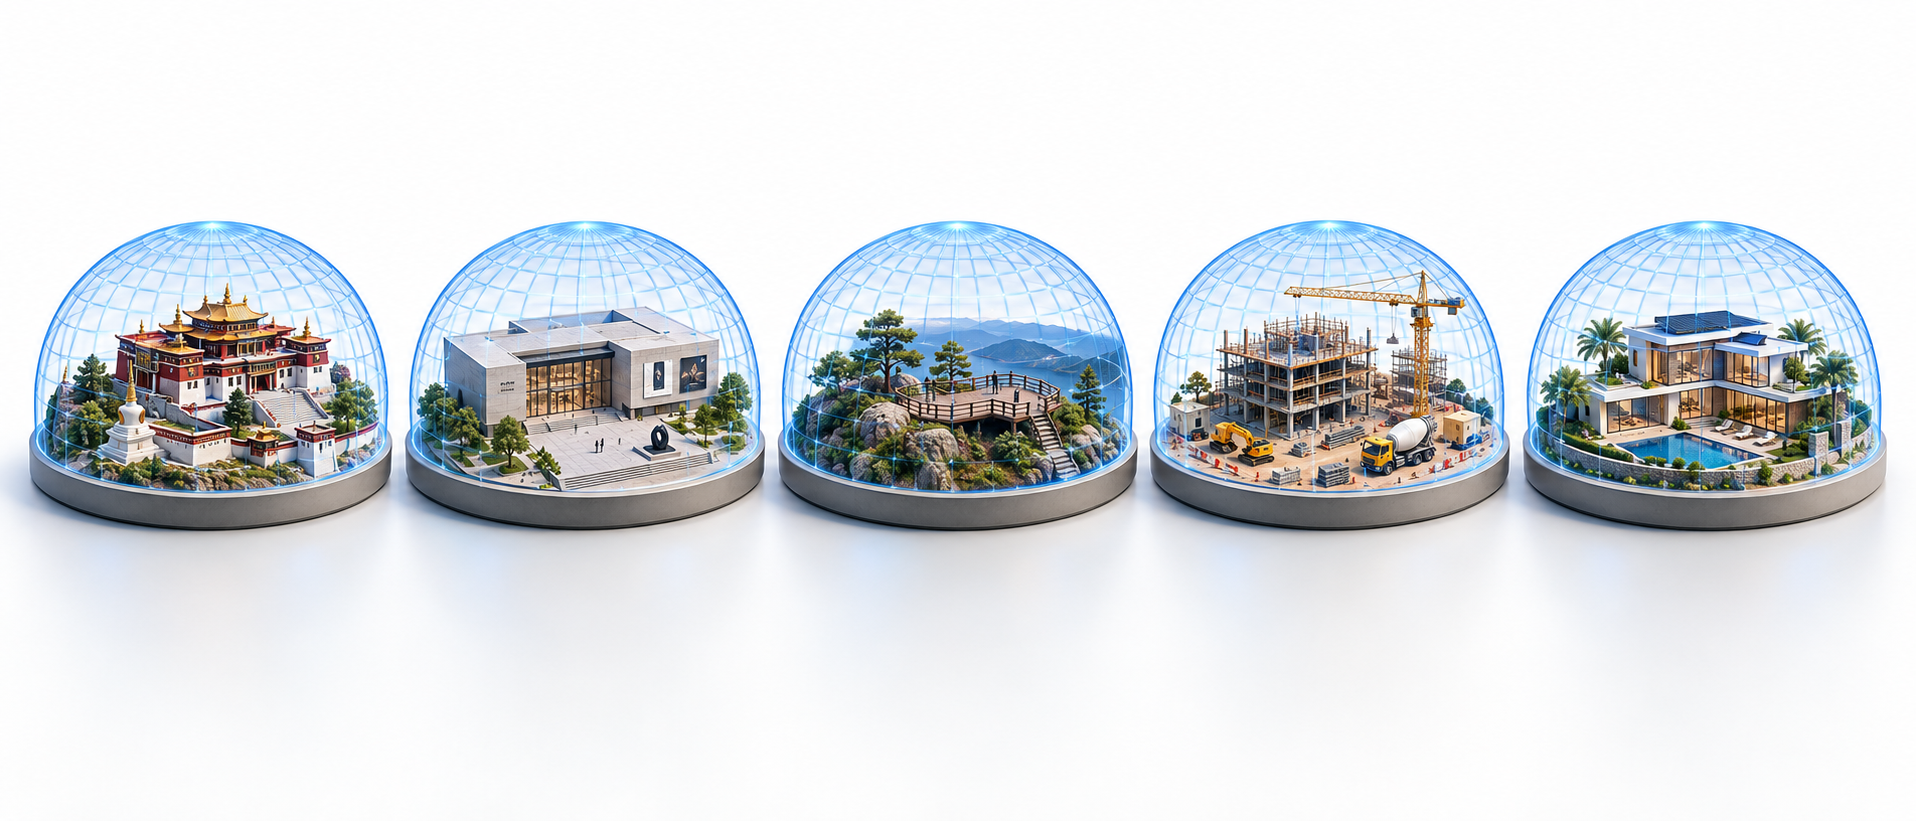
Every kind of location — captured the same way
The purpose of this ultra-high-resolution stitching is to preserve and present a place in extraordinary visual detail. Typical applications include digital heritage preservation, tourism and cultural site showcases, museum collections, national park and scenic area displays, commercial aerial presentations, and high-end real estate and luxury property marketing. Some clients also use it for construction site inspection, status documentation, and recording a project's progress over time. Other common uses include exhibition and event virtual tours, academic and institutional archiving, and location documentation for film or media production.
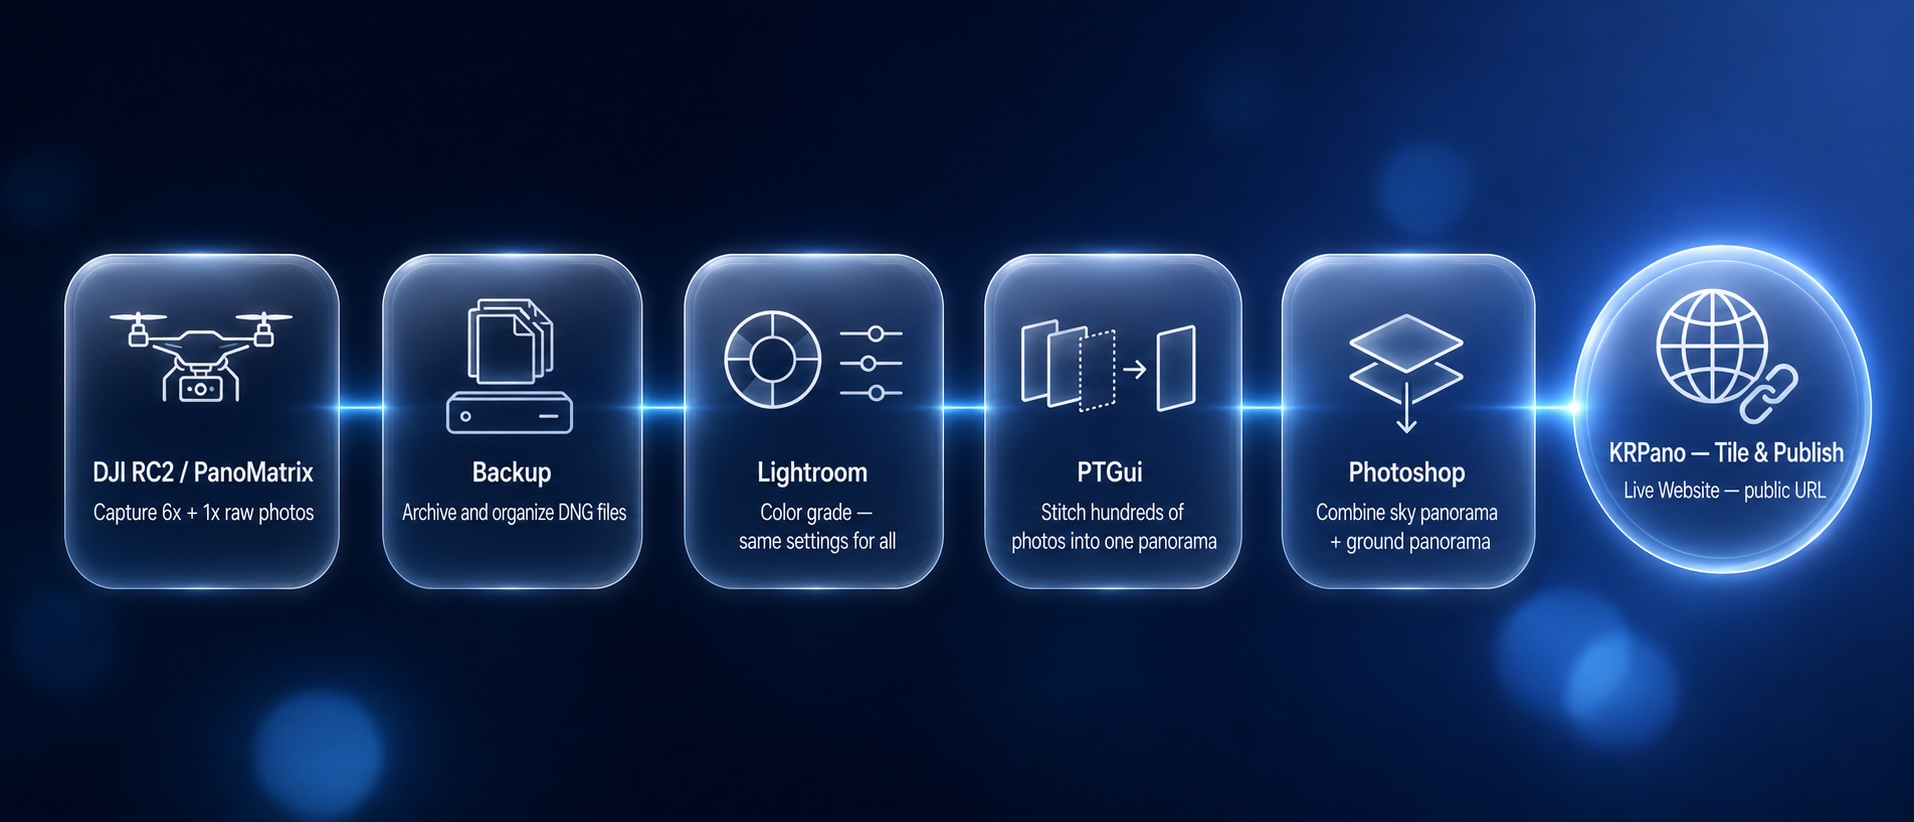
The complete pipeline, start to finish — capture, backup, colour grade, stitch, composite, publish
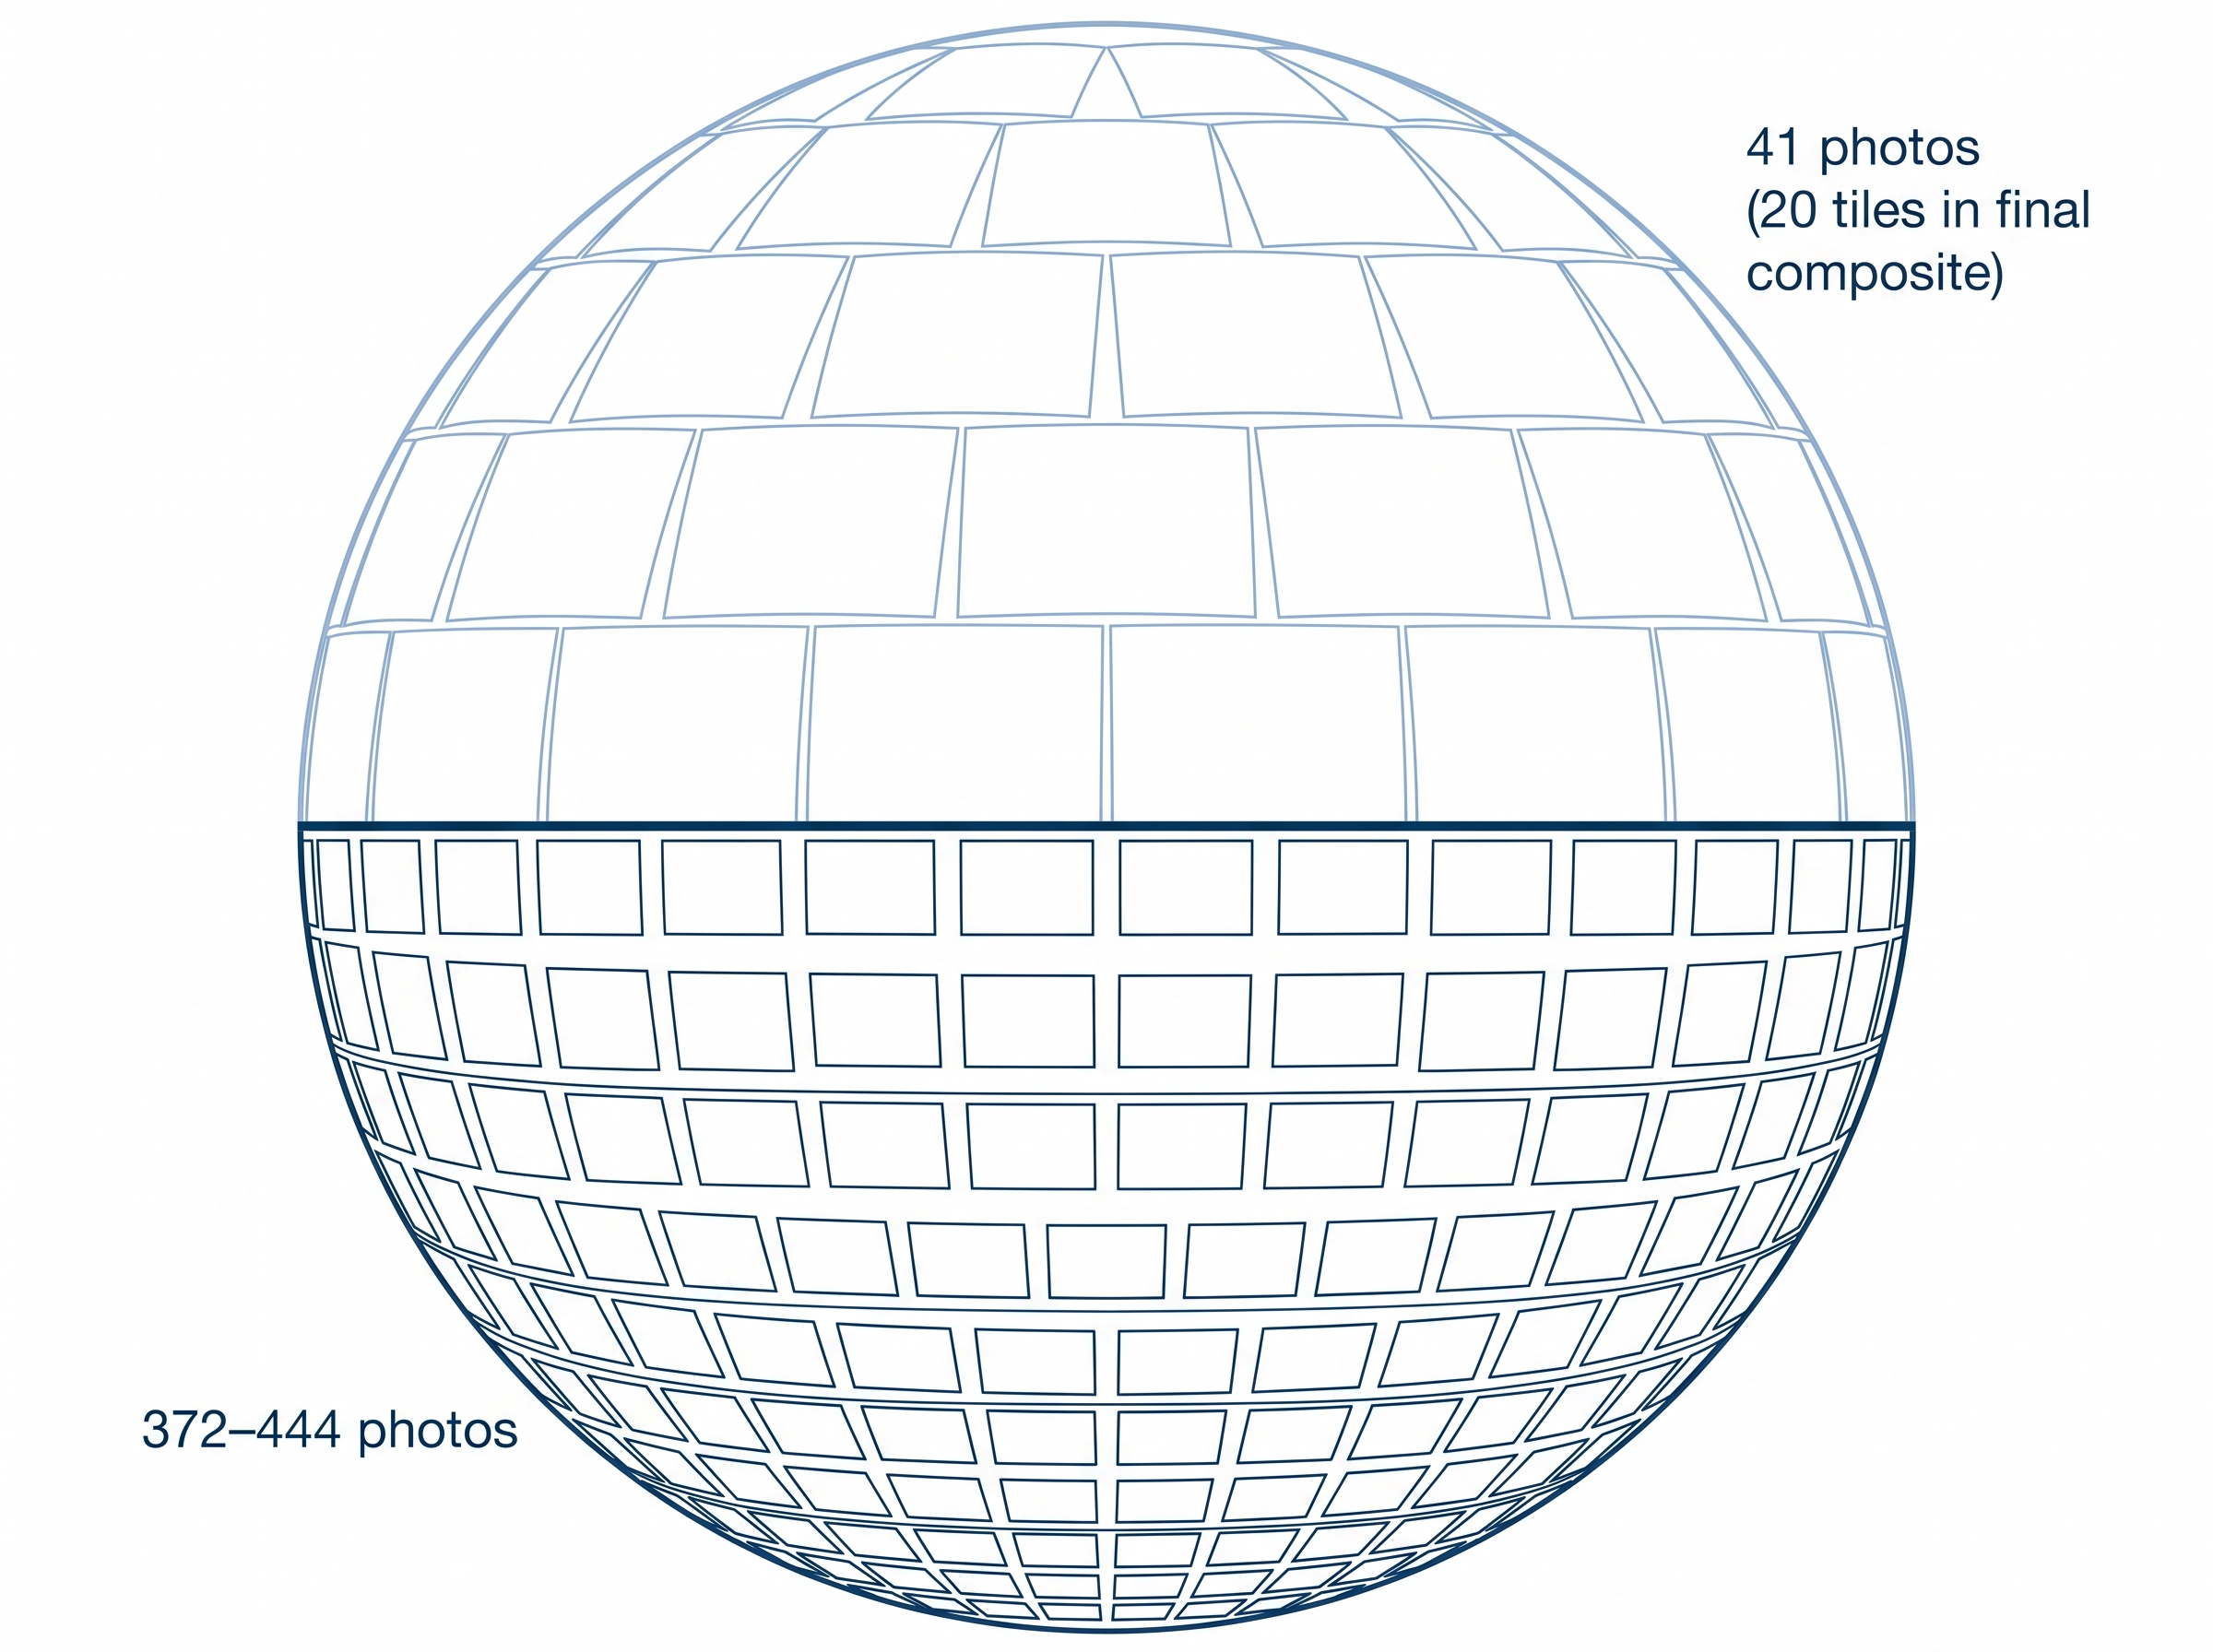
372–444 photos form the ground (6x), 41 photos form the sky (1x)
372 is the standard count. The extra 72 (444 total) come from tilting the camera 15° higher for two additional rows — used when a structure is taller than the camera's level.
Dataset You Received
| Item | Mode | Count | Format |
|---|---|---|---|
| Ground base | 6x-H-0 | 372 | DNG |
| Sky plate | 1x | 41 | DNG |
The complete RAW set, PTGui projects, and preview files.
📥 https://drive.google.com/drive/folders/1Yi-V62NTd9aJmlXwgwGLZJVWraLbaLLZ?usp=sharing
If downloading the entire folder at once causes problems (Google Drive sometimes struggles with very large batch downloads), try downloading it subfolder by subfolder instead — it's more reliable than one single large batch.
What's inside
| 00 | Documentation | this reference guide |
| 01 / 02 | Raw frames | 372 six-times (6x) frames + 41 one-times (1x) frames, unprocessed |
| 03 | Colour-graded JPGs | ready to load directly into PTGui |
| 04 | PTGui projects | already stitched and finished — open these to see a correct result |
| 05 / 06 / 07 | Stage previews | compare your own output against ours at each step |
| 08 | Published tour | the complete, finished KRPano output — the live example you saw above |
Lightroom — Colour Grading
Purpose: Convert RAW to JPG, and make every frame in a set look identical — inconsistent frames produce visible seams later.
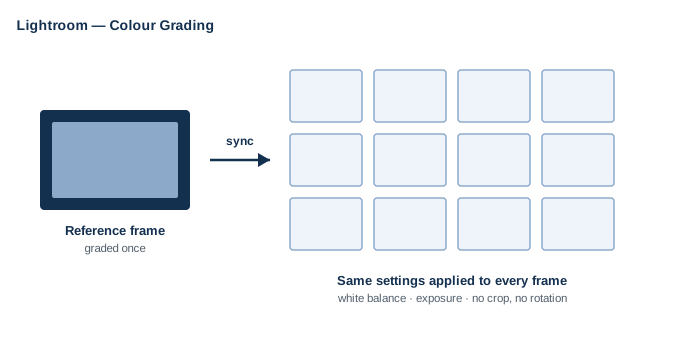
One reference frame graded, then synced across the whole set
Key Rules
- Never delete a frame — PTGui expects the complete sequence in order
- Keep the 6x set and 1x set in separate collections — graded independently, never mixed
- Grade one reference frame, then sync settings across the whole set
- Turn lens correction off — PTGui applies its own model; correcting twice distorts the geometry
- Do not crop or rotate
Export
JPEG · quality 95–100 · sRGB · full resolution · no sharpening.
First Time With Lightroom + PTGui?
Watch this first — it covers the full chain from import to stitching.
PTGui — Stitching & Export
Purpose: Combine the individual frames into one panorama.
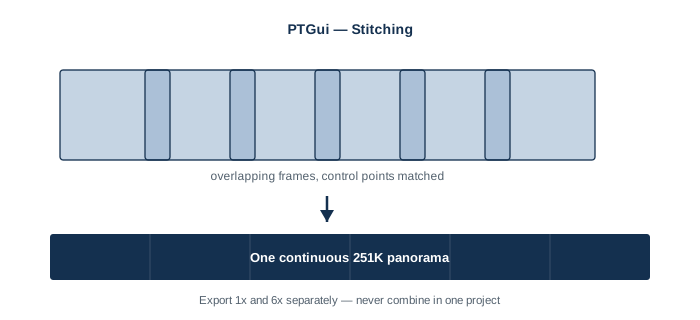
Overlapping frames, matched by control points, merged into one strip
If new to PTGui, watch this first.
Expected Outputs
| Format | Approx. width | |
|---|---|---|
| 6x ground | TIFF | ~251K px |
| 1x sky | JPG | ~64K px |
Critical: both exports must overlap past the horizon — the 6x ground must include some sky above the horizon, and the 1x sky must include some ground below it. This overlap is what you blend in Photoshop. Without it, you get a hard visible edge.
Before Exporting, Check
Horizon level and unbroken · left/right edges match · no gaps at zenith/nadir · optimizer result should read green ("very good").
If Alignment Has Problems
Misplaced frames or visible errors require manual control-point correction in PTGui — a skill in itself.
Reference:
Photoshop — Blending the Sky
Purpose: Merge the 6x ground panorama (~251K px) with the 1x sky panorama (~64K px) into one complete 2:1 equirectangular image.
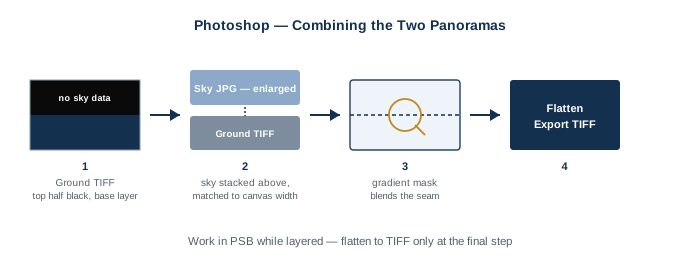
The full sequence — base layer, sky layer, blend, export
Working Format
Save the layered file as PSB while working — a 251K-wide layered file is too large for standard TIFF. Flatten to TIFF only at the final step.
The Mistake Beginners Make
Final Specification
| Dimensions | 251132 × 125566 px |
| Format | TIFF |
| Bit depth | 16-bit |
| Colour space | sRGB |
| Projection | Equirectangular |
Reference Tutorial
The technique is over a decade old — tools change, the logic doesn't.
— How to replace the sky in a 360º drone photoKRPano — Tiling & Publishing
Purpose: Convert the single huge TIFF into thousands of small web-loadable tiles, and generate the HTML page that displays them.
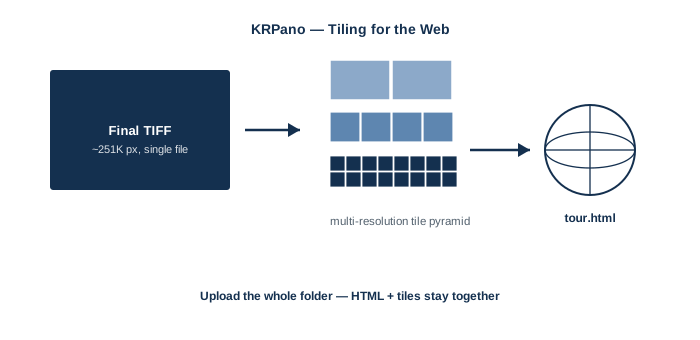
One TIFF becomes thousands of tiles, published as a single folder
Software
krpano.com/download/ — commercial license required to remove the watermark (currently ~€179; see krpano.com/buy for current pricing). Unregistered copies work for local testing.
The Process
- Open krpano Tools
- Set config to
vtour-multires - Drag your finished, flattened TIFF onto the window (not the raw PTGui output, not the layered PSB)
- Wait — a 251K panorama takes a long time to process
Output
A folder containing tour.html, tour.js, tour.xml, panos/, plugins/, skin/ — this whole folder is your published tour.
Publishing
- Upload the entire folder via FTP to your web host, keeping its internal structure intact
- Folder and file names: English characters only, no spaces — a common cause of tiles failing to load
- URL format:
http://your-domain.com/folder-path/tour.html
Requirements Reference
Hardware — Minimum
500GB+ free SSD space (scratch + output)
Hardware — Recommended
128GB RAM · 2–4TB SSD scratch volume · high-end GPU (RTX-class)
These are practical guidelines, not hard limits — but a 251K-pixel pipeline genuinely needs this scale of storage and memory. Running short on scratch space mid-export is the most common cause of crashes.
Software Versions Used for This Dataset
| Software | Version |
|---|---|
| PTGui | 13.9 |
| Adobe Lightroom Classic | 2026 |
| Adobe Photoshop | 2026 |
| KRPano | 1.23.1 |
Licensing
All software should be properly licensed. PTGui and KRPano both require a paid license for full functionality and watermark-free output — see their official sites for current pricing.
This dataset and material were captured by our team and are provided for training and reference use only.
Where This Workflow Begins
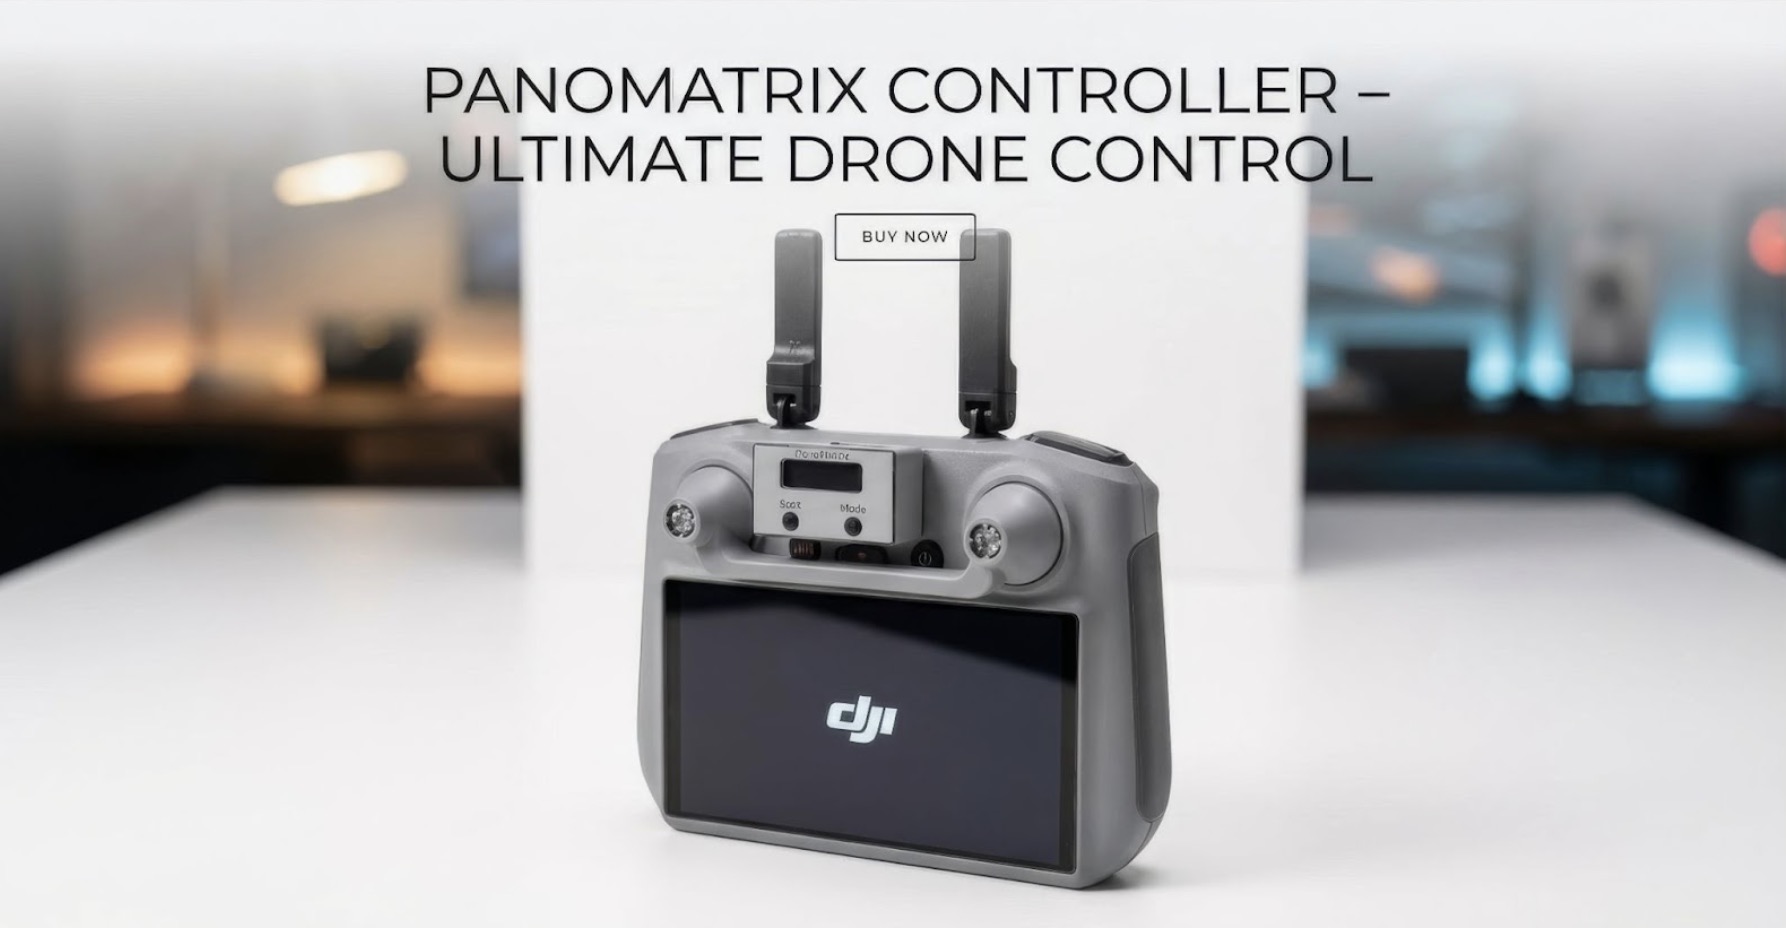
Every image, every panorama, every published tour in this guide starts with one device — the PanoMatrix RC2. It handles the capture stage with a precision no stock controller offers, and it is the foundation this entire pipeline depends on.
What's the Difference From DJI's Original 360° Mode?
| PanoMatrix | DJI Stock | |
|---|---|---|
| 1× lens | 64K63,962 × 31,981 ~4× more detail | 32K31,932 × 15,966 |
| 2.5× lens | 101KStitched Output ~4× more detail | 50.5KStitched Output |
| 6× lens | 251KStitched Output | N/ANo panorama function |
Haven't purchased yours yet?
Get in touch: vr@super720.com